Showing posts with label christmas. Show all posts

1.14.2013

[completed] two more two-zip hipster bags

For two of my closest friends, I decided to make two more of the two-zip hipster bag that I had made for my cousin. Like my cousin's bag, these two cross-body bags feature adjustable straps, an outside slip pocket, a zippered outside pocket, and interior slip pockets.

For my old friend Erin, I chose a purple and white striped fabric with dark purple zippers. I chose a solid lavender for the lining.
front of Erin's bag

inside of Erin' bag
back of Erin' bag
 For Jess, I chose to use three fabrics - a solid Kona green, a green white and black print fabric for the outside pocket, and a fun green owl print for the lining. I chose black zippers to contrast with the fabrics.
front of Jess' bag
inside of Jess' bag
outside pocket on Jess' bag

finished bag!
I had a lot of fun making these bags (especially utilizing all fabrics from my stash), and both bags were very well received!

[completed] brother-in-law sneaker quilt

front of the quilt

This quilt for my brother-in-law is one of my favorite Christmas presents this year. I finished it months before Christmas (which is always nice). I bought the fabric for this quilt at the same time that I got the fabric for Adam's anniversary quilt

look at those awesome prints!
My brother-in-law loves sneakers, so I had to get this bundle of fabrics that featured fabulous sneaker prints, music notes, cassette tapes and bright solid colors. I matched the bundle of fat quarters with some cut-up black cotton Ikea sheets, and used this tutorial from Oh Fransson! for the pattern. The pattern makes a queen-sized quilt (like this one), but I adjusted the pattern to make a large twin/lap size since I intended the quilt to be used in his man-cave rather than his bedroom. Doesn't it make for a fun man-cave quilt for a 13-year-old?

quilted ps3 controller and sneakers
To make the quilt even more special and fun, I quilted sneakers, video game controllers, headphones, music notes, and various other designs using this technique. Basically, I took cardboard or paper templates, pinned or just laid them on the quilt, and then free-motion quilted around the design. This was initially a pretty slow process, but I got faster and more creative with practice.

quilted initials and sneakers
All the quilting was done in grey thread (the same as in Adam's anniversary quilt), so that the painstakingly quilted designs would show up nicely on the front and back of the quilt.
back of the quilt
 This was my first time using Ikea sheets, and while the sheets were a pain to cut, the fabric worked well for both the front and back and the quilt (and was pretty cost-effective). I have another set (also black) just waiting for inspiration to strike. I got the idea of using sheets from the Oh Fransson! tutorial, and I'm loving the whole idea. (You might have noticed that I also used a sheet for the backing of Adam's anniversary quilt).

closeup of the backing
The grey thread pops against the black backing, while not being too obtrusive.
binding
I bound the quilt with a scraps from the prints on the front and a light lime-y green solid. It turned out pretty well.

I had fun making this quilt and learning a new way to quilt in the process. And my brother-in-law loved the quilt - which is ultimately the most important thing!
smiley face and wonky star


11.01.2012

christmas is coming...

cute little trees

Now that Halloween has passed, it's really time to start thinking about the upcoming holidays! I posted earlier about starting my Christmas presents, but now that the deadline is steadily approaching, I've really begun to ramp up my crafting!

My to-do list still has way too many items on it - from a quilt to a cross-stitch or two and many other projects. I've crossed four names off my list so far, but there are six people left! Here's hoping I can get it all done in time.

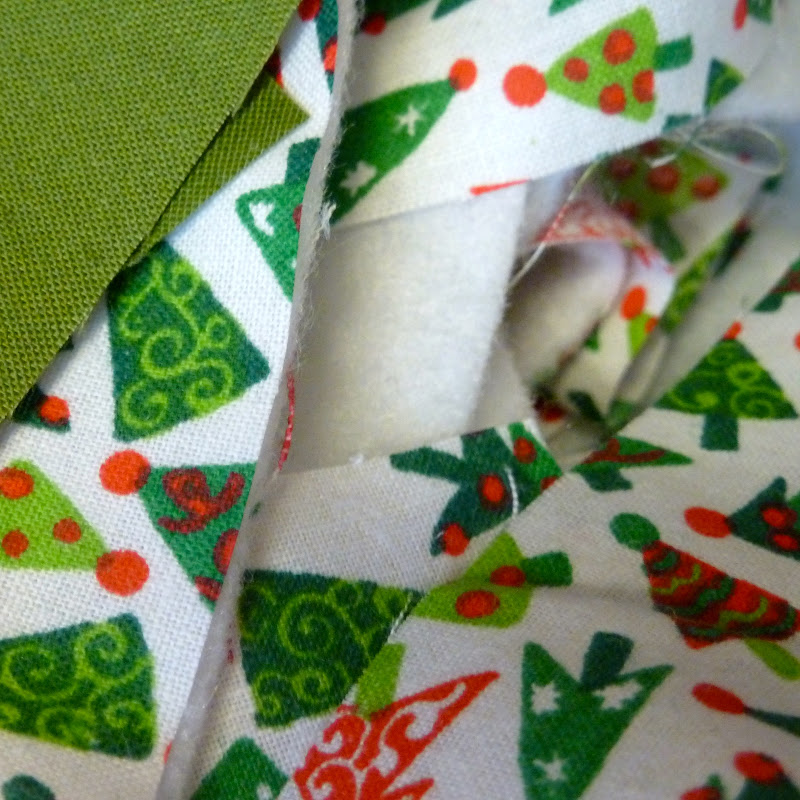
Here are some recent pictures of pretty Christmas scraps... I'll give you to guess what projects I used these fabrics for!

santa hat!

10.05.2012

[completed] tshirt memory quilt

back and front
 Today, I finally finished my cousin's tshirt memory quilt, which I started back in August. I was going to keep this finished quilt a surprise, but I don't think he'll ever see this post, so I think I'm safe.

So here it is!

the front

The front is composed of differently-sized squares and rectangles cut from 21 of his tshirts, sashed with red, black, navy, white and grey solids. I finished it off with a scrappy border from the leftover solid fabrics. I was provided with over 40 tshirts, and I chose these because of the similar theme (sports), and the quality and sizes of the shirts. I love the random pop of the one orange shirt.


closeup of the top

 I took some of the details from the shirts that were too small to use int the quilt top, and appliquéd these pieces onto some of the open spaces in the quilt. I think these extra additions made the quilt top more interesting, and also incorporated more of his shirts.

I did a large (think gigantic) stipple for the quilting, and used grey thread so that the quilting wouldn't be super obvious. I wanted the tshirts to be the focus of the quilt. The quilting turned out really well - it was fast, and because it was so big, the quilt maintains soft and flexible.

the back
I initially was going to make an interesting back with some extra tshirts, but I ultimately decided on a solid backing.  My cousin requested red, grey or blue for the backing, and I chose grey. I like the contrast between the super busy and vibrant quilt front, and the calmness of the solid back. I like that it is versatile.

I bound the quilt in homemade straight-grain navy binding, and used a zig-zag stitch to attach the binding to the quilt. Once again, the binding was my nemesis in this quilt, but I think my mistakes were pretty minor and ultimately unnoticeable.

adam modeling the quilt
The quilt finished at a generous 60 x 90, so that my cousin will be able to use it as a big throw or on a twin bed.

I will be sending it to him for Christmas - I hope he likes it! I am happy to report that despite starting this quilt back in August, I have completed it ahead of schedule!

Now... onto the other quilts I have to make before Christmas rolls around!

crafting update

I'm still alive and crafting! I have actually been crafting a lot of late, but almost all of it has been early Christmas presents, so I can't post pictures or give specifics. In general, though... I've completed one Christmas gift this week, and am almost done with the tshirt memory quilt I'm making for my cousin. All that is left is stitching on the binding, which we all know is just my absolute favorite part. Only not.


I have made up Christmas to-do list after to-do list, and am slowly chipping away at the gifts. I know I still have like three months, but last year I was scrambling at the end, and I'm determined not to be that way this year. Also, I like making lists. I am trying not to be overly ambitious this year, but I have a total of five quilts being given out, so clearly I'm not succeeding. Two of the five are complete, one is almost complete, and two haven't even been started. I am tempted to add on a few more ideas, but I'm trying to be strong. I just love to make and give away crafty things!

I have done a few crafts that aren't gifts (or at least, are staying in my house), so I will post about those soon!

6.01.2012

christmas in june?

get excited

Remember this post last year? Well, I've decided to do it again - a (mostly) handmade Christmas.

I'm starting even earlier this year. I actually started in May, and already have completed twenty-seven (small) gifts. I was way too ambitious last year, and made many lists (and bought many supplies) for projects that never got completed. Some of those ideas will get reused for this year, and some might get saved for next year. Crazy, right?

I've got nine items on my to-do list at the moment, but most of those are larger projects than I've attempted in the past. I'm going to try to get as much done this summer as possible, so that I don't have to finish projects at the last minute (like last year...) or stress about presents while also stressing about schoolwork.

Wish me luck!

12.27.2011

completed christmas present four: canvas bag

see my label on the pocket? branding at its finest!
Remember this bag and this bag? Well, I made another one! My lovely mother-in-law requested a bag for Christmas, so I whipped one up using only materials I already had in the house. Luckily, I'm a fabric packrat and I had a yard of neutral canvas for the outside, a yard of pretty patterned cotton for the inside, a long red zipper and plenty of red thread. I love the red topstitching - it makes the bag more defined and professional-looking.
This bag is made basically the same as the others with a recessed top zipper and an outer slip pocket. It's big and roomy - perfect for the summer! When it comes, anyway...
I gave away the other two bags I made for Christmas also. Now I need to make one more for my sister, and then I might take a break from this bag for awhile!

completed christmas present three: blue bowl

filled with delicious chocolate
 When I was taking my pottery class, I made Adam a bowl. He always needs little bowls and things to collect all the miscellaneous stuff that he accumulates. His desk is decorated in black and blue, so I thought blue would be a good choice to show off the details of the bowl. I used another bowl to form the shape of my desired bowl, and gently pressed the clay down into the right shape. Then I took two different sizes of stamps with stylized representations of the B2, and stamped a whole flight of B2s. Then we fired it, I painted it with globs of blue glaze, fired it again, and voila! A gift for Adam.
It was actually the first present from me that he opened because we opened the smallest presents first. It's definitely my favorite thing that I made in the pottery class - and since it wasn't thrown on the wheel, it was also the least messy (and thus most enjoyable) item to make. Isn't it pretty?

b2s everywhere!

12.25.2011

completed christmas presents two: etched ornaments

Remember the etched ornament I made for me and Adam? Well, I also picked up some for my mother and my sisters at the same time, and etched them as well. My mother gave us ornaments every year, and I'm trying to carry on that tradition. I added the year so that they will always remember when they got the ornament.
My mother got a dove, because she loves doves. My older sister got a more sophisticated, traditional ornament, and my younger sister got a funky star. Apparently the star caused a bit of controversy because I didn't say everyone was a star. But they all are! I love my family!

for my mother

for my older sister

for my younger sister

completed christmas presents one: cross-stitch portraits

for my mother

for my older sister

for my younger sister
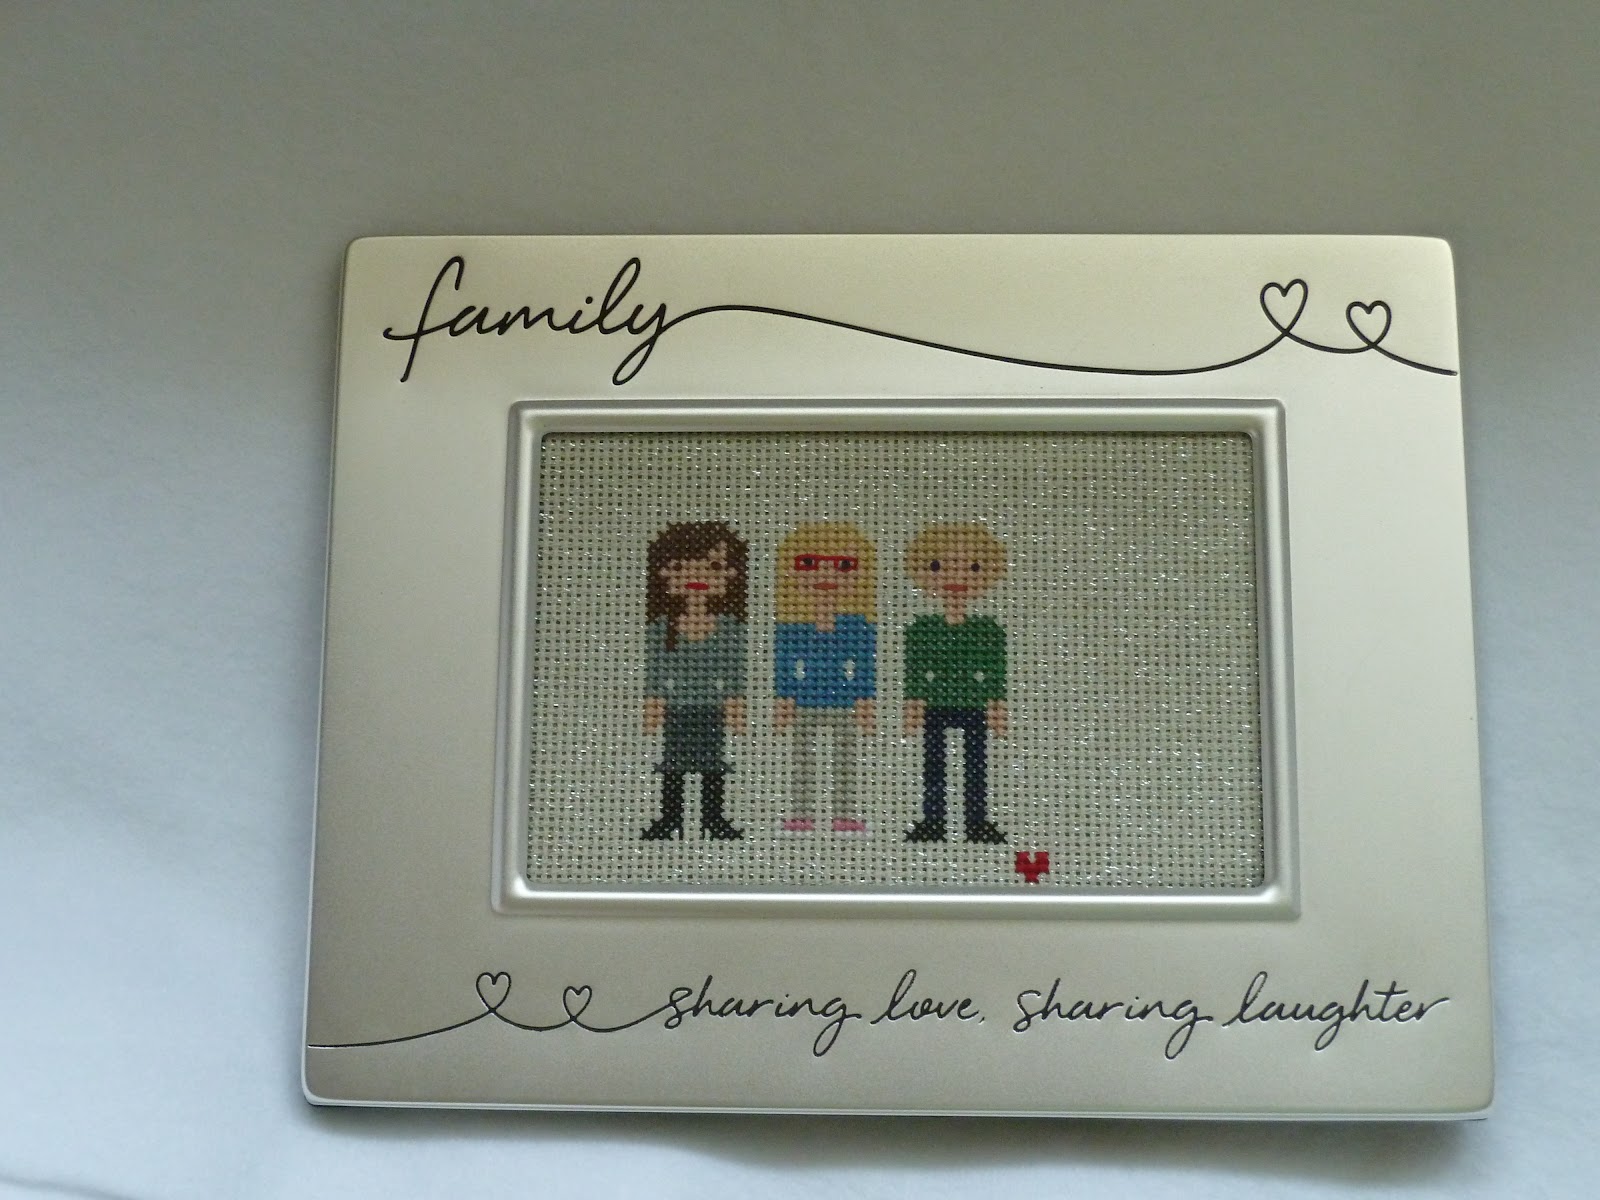
For Christmas presents for my mother and my two sisters, I made cross-stitch portraits of us three girls. It was originally just going to be for my mother, but after I stitched up my sample one (not pictured), I decided it was so adorable that I had to make one for each of my sisters as well. I had the basic pattern custom-designed for me by Wee Little Stitches (and they were a pleasure to order from), but I altered the design each time I stitched it to change the outfits and colors and hair styles.
I ended up making four of these - starting with my sample, then my younger sister's, then my older sister's, then my mother's. My younger sister got "sisters" embroidered on hers as well, but I decided I didn't love it and didn't like doing it (I am bad at backstitching, which is weird) and so I didn't include it for the other two.
The one for my younger sister is stitched on linen and then stretched over a small 4x4 inch canvas, while the ones for my older sister and mother are stitched on 14-count Aida and framed. I love how they turned out, and I mastered french knots (at last!) in the process. Each cross-stitch took about five hours (more or less, sometimes more) to complete. Definitely worth it. One of these days I'm going to make a fifth one for myself.
Although my family is in Wisconsin for Christmas, I got to Skype with them while they opened their presents from me, which was great. All of them seemed to love the cross-stitches, which was wonderful and exactly the reaction I was hoping to get. Hopefully these cross-stitches will always remind them of our love for each other!

merry christmas

love, us

12.23.2011

tree coasters version two


Adam and I like these red and green versions better. The printed fabric pops, and doesn't show through the dark colored fabric. I've been stitching around the design once after the whole coaster is assembled, but Adam suggested that I just leave it. I was following the tutorial, but I agree, the coaster is small enough that it doesn't require the security of the extra stitching, and the back looks better without it.


tree coasters

which do you like better?
This morning I woke up super early, as is apparently my habit now, and decided to make some tree cutout coasters. I had cut out a little stylized tree template out of leftover cardstock last night, and had cut out all the fabric pieces, so I was ready to go!
I don't love either of these, though. The one on the left is too strong looking, and the stripes on the one on the right show through the white fabric.
Back to the drawing board!

12.11.2011

Christmas Present Update!

In the interests of time and sanity, I simplified my Christmas craft to-do list awhile back. Now, with the big deadline fast approaching, I am left with three people/presents left to do! I hope to will get those completed this week, and then I will be all done!
After Christmas, be on the lookout for a bunch of posts displaying all my creations!

12.04.2011

Etched Ornament

etched by me!
A few days ago, I had some spare time and wanted to do a quick little project. I had picked up this mirrored heart ornament at Michael's earlier with the intention of etching it. So I did.
I like ornaments that have the year on them, so that you remember when you got them, so I etched Adam's and my initials and the year on the ornament. I did it freehand and 'painted' the etching cream onto the ornament with a little paint brush. This means my result isn't as neat as it would have been if I'd used a stencil, but I didn't have any number stencils, so I had to do it freehand. Overall, I'm pleased with the result - it is personalized and cute. Adam liked it, which was important.

11.21.2011

Star Cookies

delicious
Last night Adam and I made star cookie and chocolate sandwiches! The recipe came from the same holiday magazine as all of our recent baking trials. The cookies have melted chocolate-and-sugar frosting sandwiched inside each pair of stars.
We both took a box to work with us today (or in Adam's case, last night). My co-workers said they were delicious (and they were) but Adam's coworkers said they were dry (and they were).
We may have to alter the recipe for next time! But the dough was pretty easy to work with and the cookies turned out tasty, so I consider this a success!

11.20.2011

Sneak Peek Project Completed - Advent Calendar

excuse the lumpy appearance, it's on my couch
The sneak peek project is revealed! It's an advent calendar!
This one is for my in-laws, who I've heard enjoy advent calendars. 
It is basically just a quilt with pockets, so it was fairly straightforward. Assembling the pockets was a bit of work, and of course quilting the whole thing together took some time. It was a pain trying to get all the pocket squares lined up nicely - but I think it was well worth the time and effort it took to rip out failed seams and do it over again.
Each pocket is lined with a contrasting or coordinating color, and little chocolate treats and activity cards are tucked inside. The activity cards are just little suggestions - "make hot chocolate" and the like - printed on colored cardstock.
I (painstakingly) cut out all the numbers for the pockets out of white felt, and glued them on using my new pink hot-glue gun. And that glue is for sure hot. I definitely burned myself a few times. The numbers are arranged in a random pattern to make 'opening' the advent calendar a little more fun.
It has been received positively, and my mother-in-law even said it helped her feel the "Christmas spirit". Huzzah!


11.14.2011

Whose shapes return, some frequently, some seldom, some by night and some by day...

Last night, I decided I wanted to make a little cross-stitch for a friend (who almost certainly doesn't read this blog) that I haven't seen in a long time. I chose an appropriate quote - "life is but a dream whose shapes return, some frequently, some seldom, some by night and some by day" by James Thompson - and chose black and grey variegated thread. Today, flushed with victory after the Scrabble game, I sat down to cross-stitch. Some time later, I finished it and framed it in a 4x6 black frame I happened to have. Voila!

11.13.2011

Ginger Snowmen

 
After sitting around crafting and playing scrabble for most of the day, I felt like getting up and doing something. So I suggested to my dear Adam that we make some cookies, since we're planning on making huge batches for Christmas. We picked out a few recipes that we're interested in making, and then chose one to test out tonight - the ginger wafer recipe.
When we first started mixing the ingredients, I put in a tablespoon of ground cloves instead of ground ginger. Oops.
Luckily, Adam caught my mistake, and we started over. Those cookies would have been a disaster.
As you can see, the cookies we made (in an adorable snowman shape) didn't turn out very wafer-y. We didn't roll the dough out thin enough to achieve the crispy texture we were hoping for.
This may have been partially due to the fact that we don't own a rolling pin, so Adam and I rolled out the dough using a giant Barefoot wine bottle. It worked pretty well - although not well enough!
The cookies are very tasty, so the recipe is a success. There are just a few things we need to do differently next time. Like invest in a rolling pin.